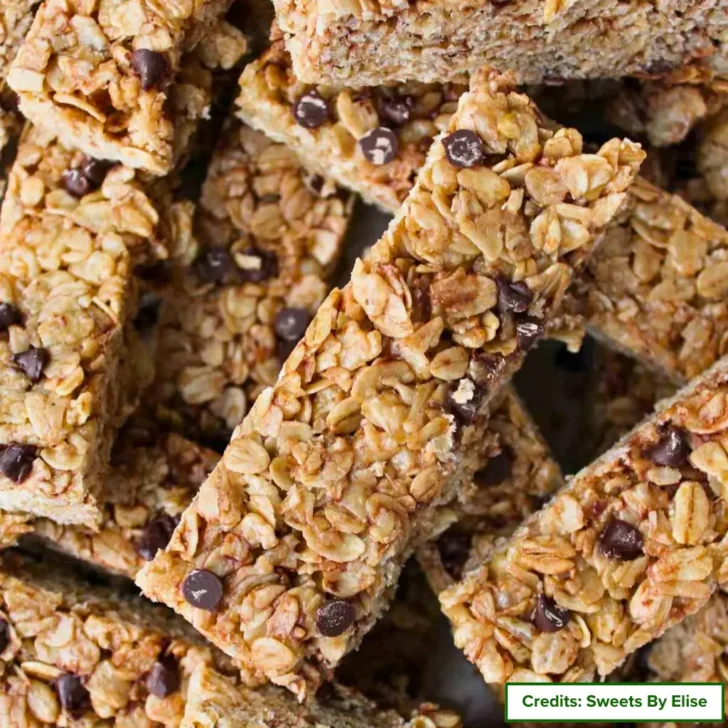
Read time: 7 mins.
Table of Contents
Introduction
When I was expecting Charlie, my quest for the perfect snack became a daily adventure. You know those midnight cravings? They’re relentless! With a growing bump and an insatiable hunger, I found myself reaching for store-bought granola bars like Nature Valley Crunchy Granola Bars or Go Macro Minis, which were always within arm’s reach. They were delicious, but as my snacking habits evolved, keeping up with the cost became a real challenge.
That’s how this recipe was born. It’s budget-friendly, easy to whip up, and just as satisfying as those pricey store-bought options. Plus, it’s perfect for anyone with a nut allergy. Trust me, once you try these homemade bars, you’ll wonder why you ever bought the store-bought ones in the first place. Ready to join me in the kitchen?
Why These Homemade Granola Bars Are the Best?
Granola bars are every house favorite, and for good reason. But have you ever wondered why making them at home might be a better choice?
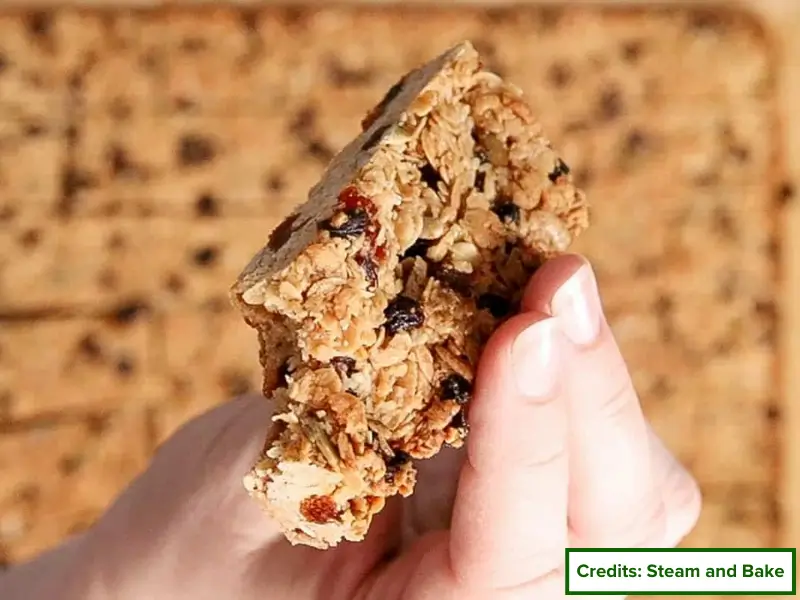
Well, for starters, store-bought granola bars often come with hidden sugars, preservatives, and allergens. Since my family and I are all about that vegan lifestyle, we pay extra attention to what goes into our food. By making granola bars at home, you get to decide exactly what goes into them, ensuring every bite is fresh, nutritious, and just right for your dietary needs. Here’s why homemade granola bars are often the best option:
- You can tailor them to suit your family’s tastes.
- No hidden sugars here.
- Simple to make with minimal effort.
- Free from wheat, nuts, and options for egg and dairy-free.
- Loved by children.
- Suitable for school snacks.
- Healthy vegan gluten-free
- Cheaper than store-bought
- Balanced snack
- Delicious enough to beat store-bought bars.
Simple Ingredients Needed for Nut-Free Granola Bars
Here is a quick run down of ingredients we are going to use.
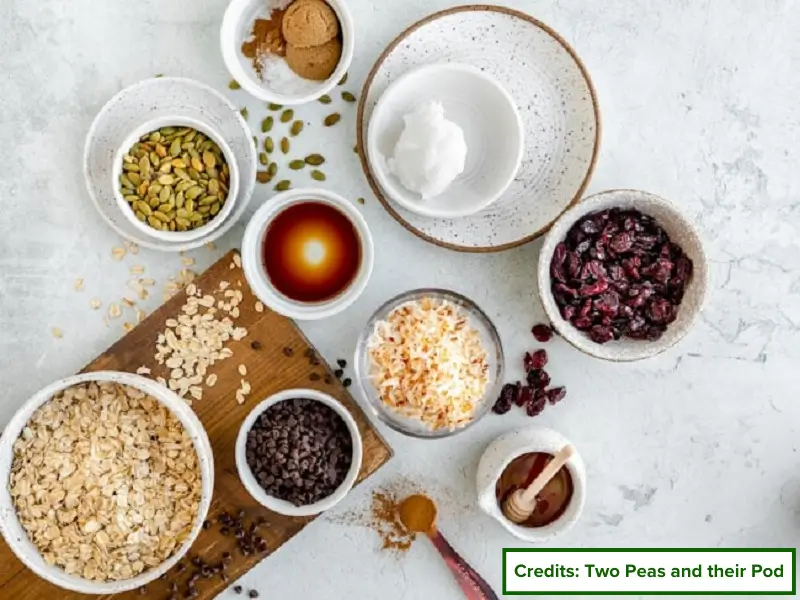
Rolled Oats
These are the base that holds and soak up all the goodness we’re about to throw in.
Sunflower Seeds & Pumpkin Seeds
Here’s where the crunch comes in. These seeds add flavor and nutrients, making each bite satisfying. And since they’re nut-free, everyone can enjoy them without a worry.
Flaxseeds
These little guys may be small, but they pack a punch of fiber and omega-3s, making these bars as nutritious as they are tasty.
Dried Fruit
Now for variation and a touch of sweetness you can mix it up with raisins, golden raisins, dried cranberries, cherries, or even blueberries.
Maple Syrup
Maple syrup isn’t just for your morning pancakes it’s that secret ingredient that ties all these yummy ingredients together.
Sunflower Seed Butter or Tahini
Sunflower seed butter or tahini is an alternate to nut butter giving a creamy texture.
Cinnamon
A cozy, warm spice that I love to add. Skip it if it’s not your thing, but it really does add something special.
Shredded Coconut
For a tropical twist, shredded coconut is your go-to. However, don’t worry it’s a drupe fruit, so it’s usually safe even for those with nut allergies.
Coconut Oil
Keeps the bars moist and holds everything together. Just melt it before mixing.
Chocolate Chips
Chocolate makes everything better? Isn’t that so? Since my little one’s love chocolates I usually add some of the chips into the granola making mixture.
Step-by-Step: How to Make Nut-Free Granola Bars
This recipe will give you about 12 to 18 fresh, crunchy granola bars. If you want to keep these tasty treats on hand for a whole month, you’ll need to whip up 2.5 batches, which will get you around 30 to 40 bars.
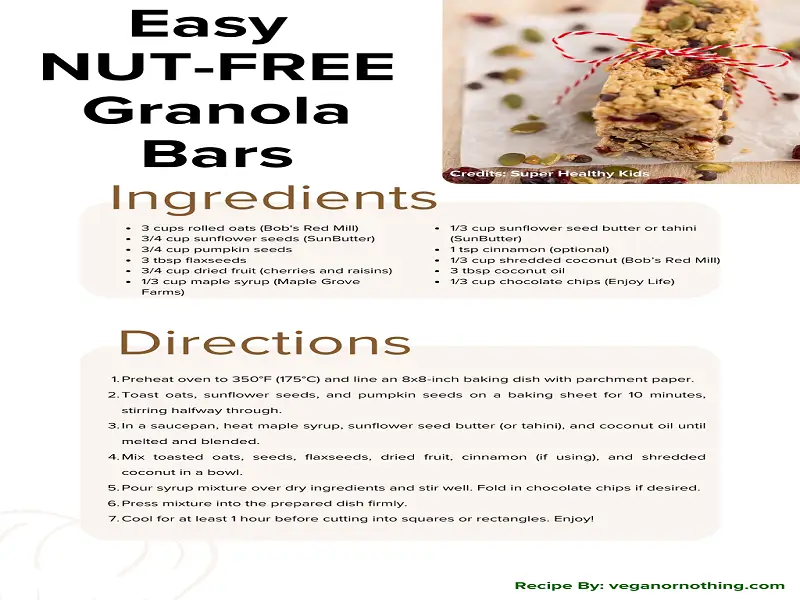
Ingredients:
- Rolled oats: 3 cups (Bob’s Red Mill for the best texture)
- Sunflower seeds: 3/4 cup (try SunButter for a great nut-free option)
- Pumpkin seeds: 3/4 cup
- Flaxseeds: 3 tablespoons
- Dried fruit: 3/4 cup (like cherries and raisins, my kids’ favorites)
- Maple syrup: 1/3 cup (Maple Grove Farms for some rich flavor)
- Sunflower seed butter or tahini: 1/3 cup (Again SunButter the best choice)
- Cinnamon (optional): 1 teaspoon
- Shredded coconut: 1/3 cup (Bob’s Red Mill for a nice, fine shred)
- Coconut oil: 3 tablespoons
- Chocolate chips: 1/3 cup (Enjoy Life for a nut-free treat)
Instructions:
- Get Things Heating Up: Start by preheating your oven to 350°F (175°C). Line an 8×8-inch baking dish with baking paper, this makes it so much easier to lift out the bars later.
- Toast for Crunch: Evenly layer/mix the oats, sunflower seeds, and pumpkin seeds on a baking sheet. Pop them in the oven for about 10 minutes, giving them a stir halfway through. You want them to be lightly golden and smell amazing.
- Mix it Up: While the seeds are toasting, grab a medium saucepan and combine the maple syrup, sunflower seed butter (or tahini), and coconut oil. Heat over medium heat, stirring often until everything’s melted and blended together.
- Combine Dry Ingredients: In a large bowl, mix the toasted oats and seeds with flaxseeds, dried fruit, cinnamon (if you’re using it), and shredded coconut.
- Stir It All Together: Pour the warm syrup blend over the dry ingredients. Give it a good stir until everything’s coated. If you’re adding chocolate chips, fold them in now.
- Press and Set: Dump the mixture into your prepared baking dish. Press it down firmly with the back of a spoon to make sure it all sticks together nicely.
- Cool and Cut: Let the bars cool completely in the dish for at least 1 hour. Once they’re set, lift them out and cut them into squares or rectangles. There you go, delicious, nut-free granola bars ready for snacking! Enjoy!
Storage Tips for Fresh Granola Bars
To keep your granola bars fresh and tasty, proper storage is key. Here are some tips to ensure they stay crispy and doesn’t lose their taste.
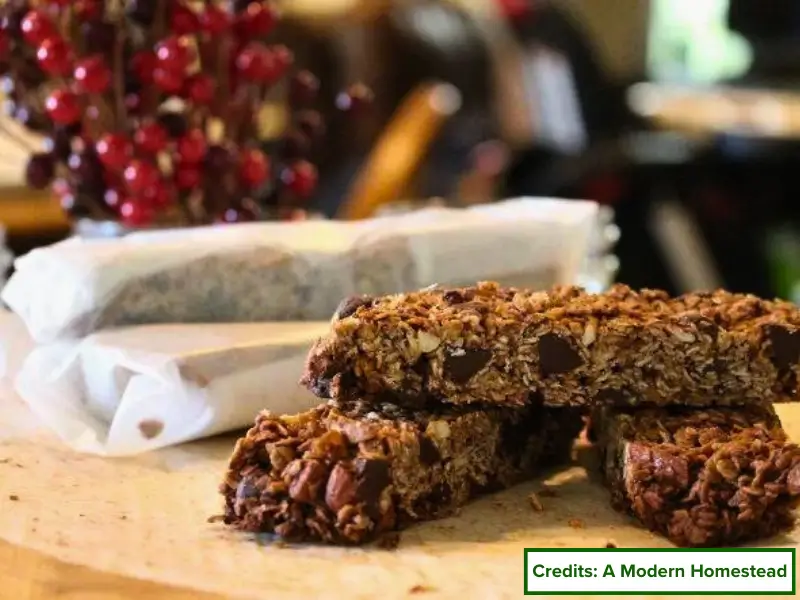
- Cool Completely: Make sure your granola bars are completely cooled before storing. This helps prevent them from becoming soggy.
- Vacuum-Sealed Bags: Use a vacuum sealer to remove air and seal the granola bars in bags. This helps preserve freshness and extends shelf life.
- Refrigeration: To extend the freshness of your granola bars, keep them in the refrigerator. This will help maintain their texture and allow them to last for up to three weeks.
- Freezing: For long-term storage, freeze the bars. Wrap each one in plastic wrap, then place them in a freezer bag. They can be stored in the freezer for up to three months. Simply let them thaw before enjoying.
If you’re looking for more healthy vegan recipes, you’ll also love these Vegan Banan Bread and Vegan Cinnamon Rolls. (pls add link here)
FAQs
1. How long do these granola bars stay fresh?
They stay fresh for 1-2 weeks at room temperature or up to a month in the refrigerator. For longer storage, freeze them for up to 3 months.
2. Can I use a different sweetener if I don’t have maple syrup?
Absolutely! You can substitute maple syrup, agave nectar, or brown rice syrup for the sweetener in the recipe. Just adjust the amount as needed to achieve the right consistency
3. How can I make these granola bars gluten-free?
Ensure all your ingredients are gluten-free, especially the oats. Some oats can be cross-contaminated with gluten during processing, so it’s important to use a trusted gluten-free brand.

